 |
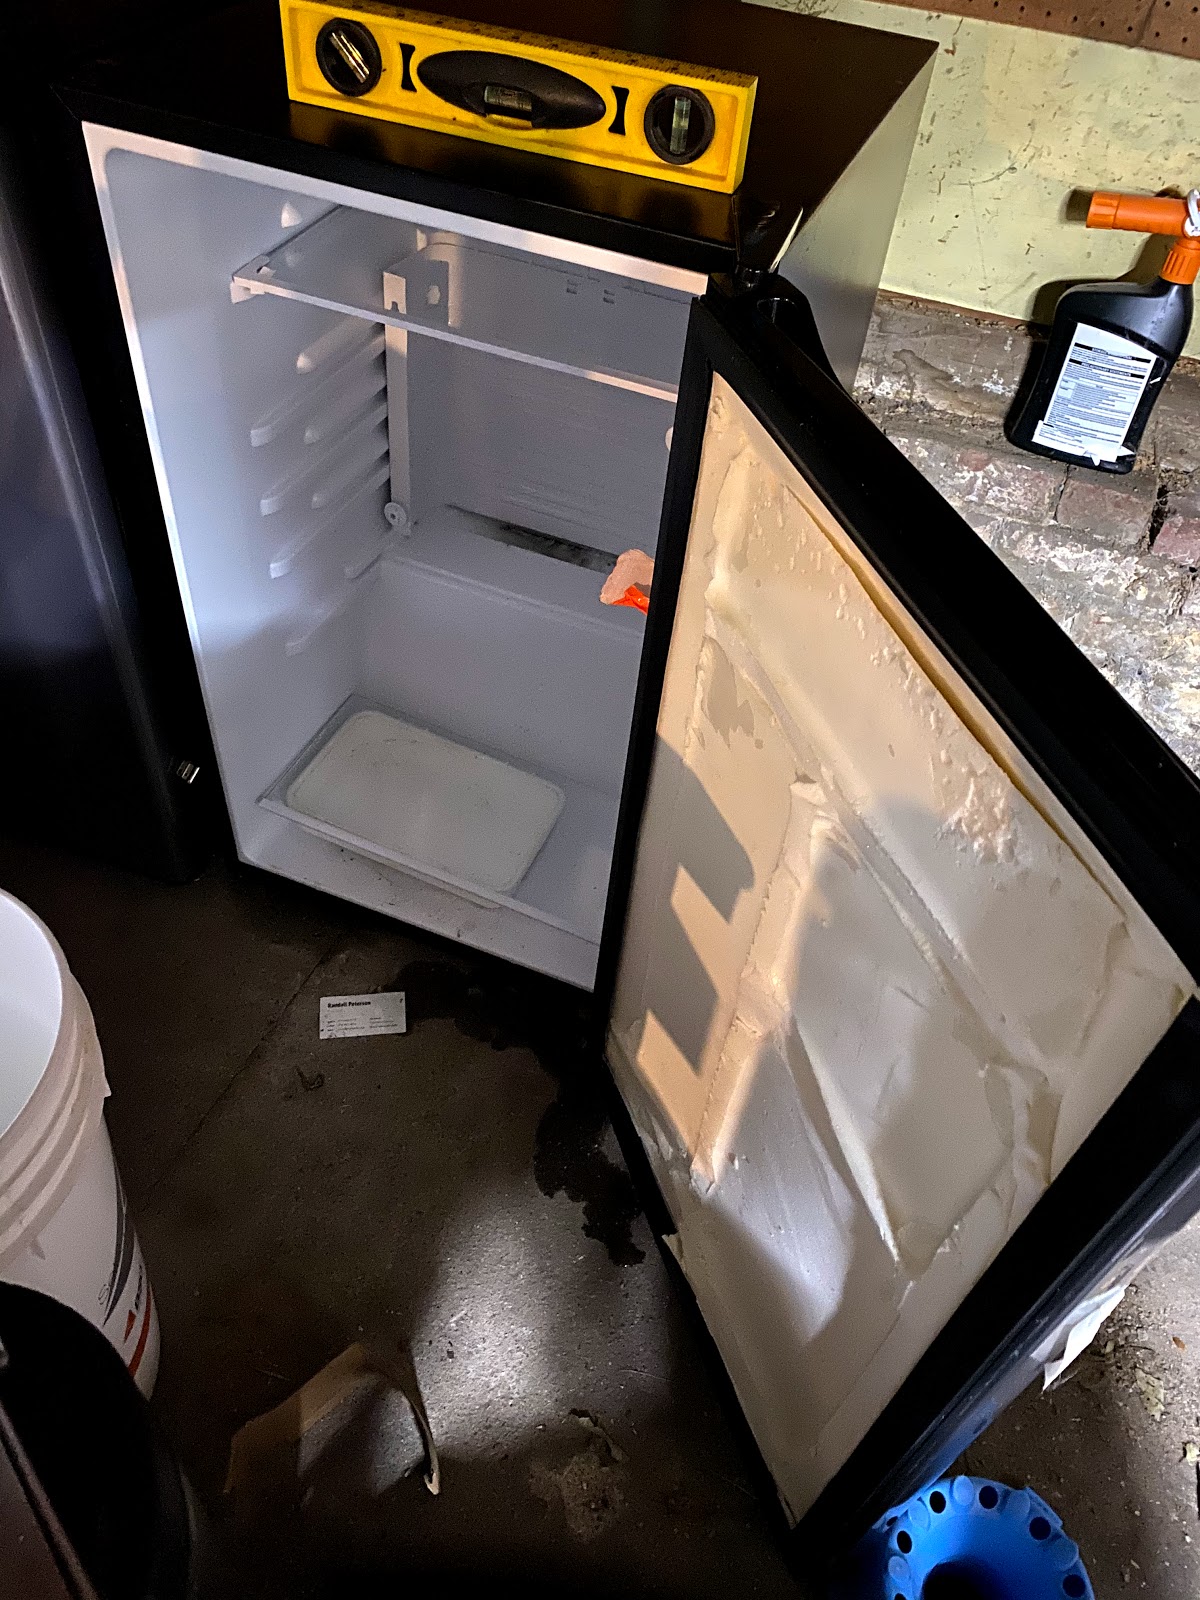
| The shelves in the door were removed so a fermenter would fit. |
The biggest separator between the homebrewer and commercial brewers might be fermentation temperature control. The ability to precisely control the temperature of fermenting beer ensures the beer ferments at the proper temperature for the yeast being pitched. It also allows the brewer to precisely set the temperature within the range of a yeast. Nottingham for example has a range of 50F-72F. At the low end of the range Nottingham is very clean, almost lager-like. At the higher end of the range Nottingham can be quite estery.
Brewing in the apartment, my temperature control was primitive at best. For half of the year our thermostat was set at 66F which is a temperature that works for most ale yeasts. Occasionally I would move my fermenter to a warmer spot if I wanted to give my beer a diacetyl rest. In the spring and fall temperatures could swing quite a bit depending on the weather. From May to September the coolest the temperature would be was 76F. If I brewed in the summer I would have to use a Belgian yeast or a swamp cooler to cool my fermenting beer.
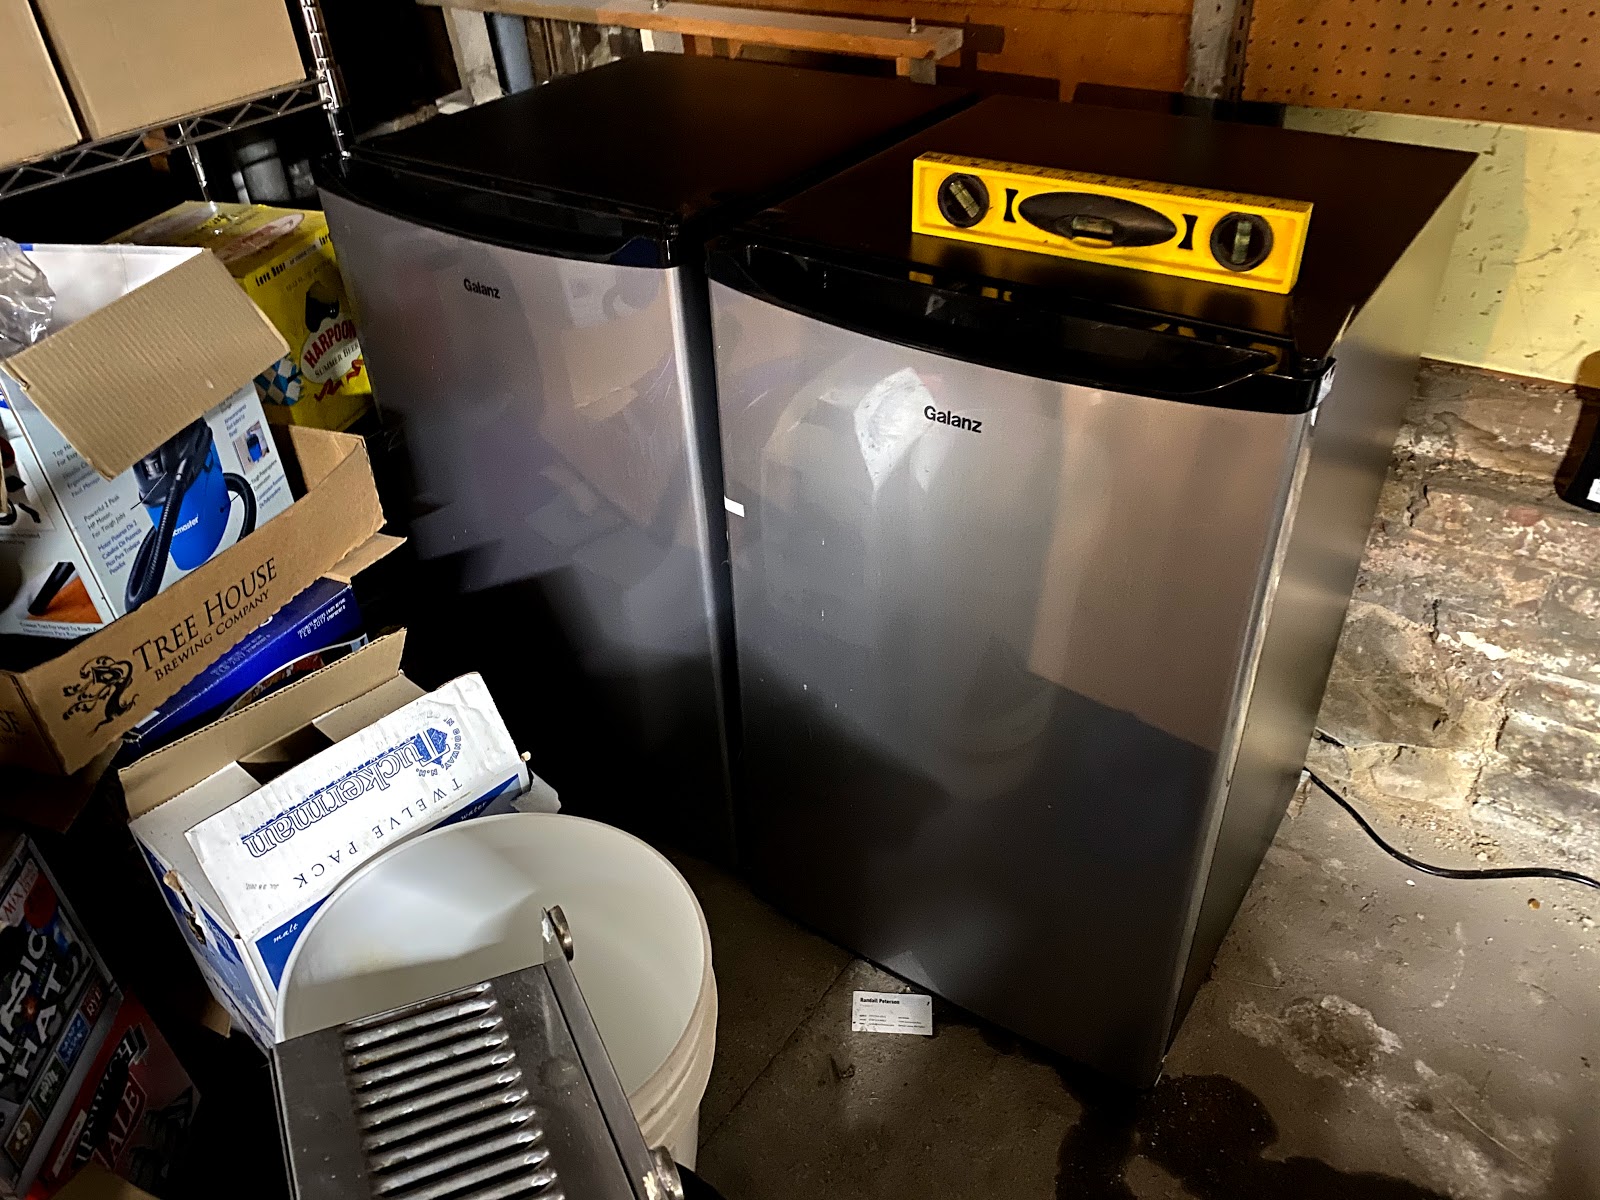 |
| Leveling the fridges on my uneven floors was the biggest challenge. |
In our house I have had a little bit more control. My basement is fairly cool. In the winter the basement ranges from 50-55F, perfect for brewing lagers. If I want to brew an ales in the winter I will use a heat wrap. In the summer the warmest temperature in the basement is 70F which works for most ales. For the most part I have brewed seasonally. In the winter I brew as many lagers as I can to last during the summer.
Although I can brew almost any style depending on the time of year, , what I haven’t been able to do is have precise temperature control below the ambient temperature. I couldn’t cold crash unless I made room in my keezer. That made achieving brilliant clarity very difficult. I also couldn’t do true lagering where the temperature is slowly ramped down a few degrees at a time until reaching near freezing temperatures. That is until now!
Ray Pickup, the co-founder of Rockport Brewing Company is transitioning from homebrewer to commercial brewer. For his homebrews, Ray modified two mini-fridges to be able to fit fermenters. Ray removed all of the shelving on the doors, and bent the metal freezer compartments down so they pivoted against the back wall of the refrigerators. Now that Ray is starting to brew commercially and will be brewing much larger batches, he had outgrown these fridges and I was able to buy them.
I am able to precisely control the temperature of my beer by:
- Plugging the refrigerator into a temperature controller. The controller I have can control both heating and cooling. The refrigerator naturally is plugged into the cooling outlet.
- Plugging a heat wrap into the heating outlet
- Use a stopper with a stainless steel thermowell which extends into the wort.
- Place the temperature probe into the thermowell which will measure the temperature inside the fermenter. This is more accurate than measuring the temperature of the outside of the fermenter.
- Set my desired temperature on the controller.
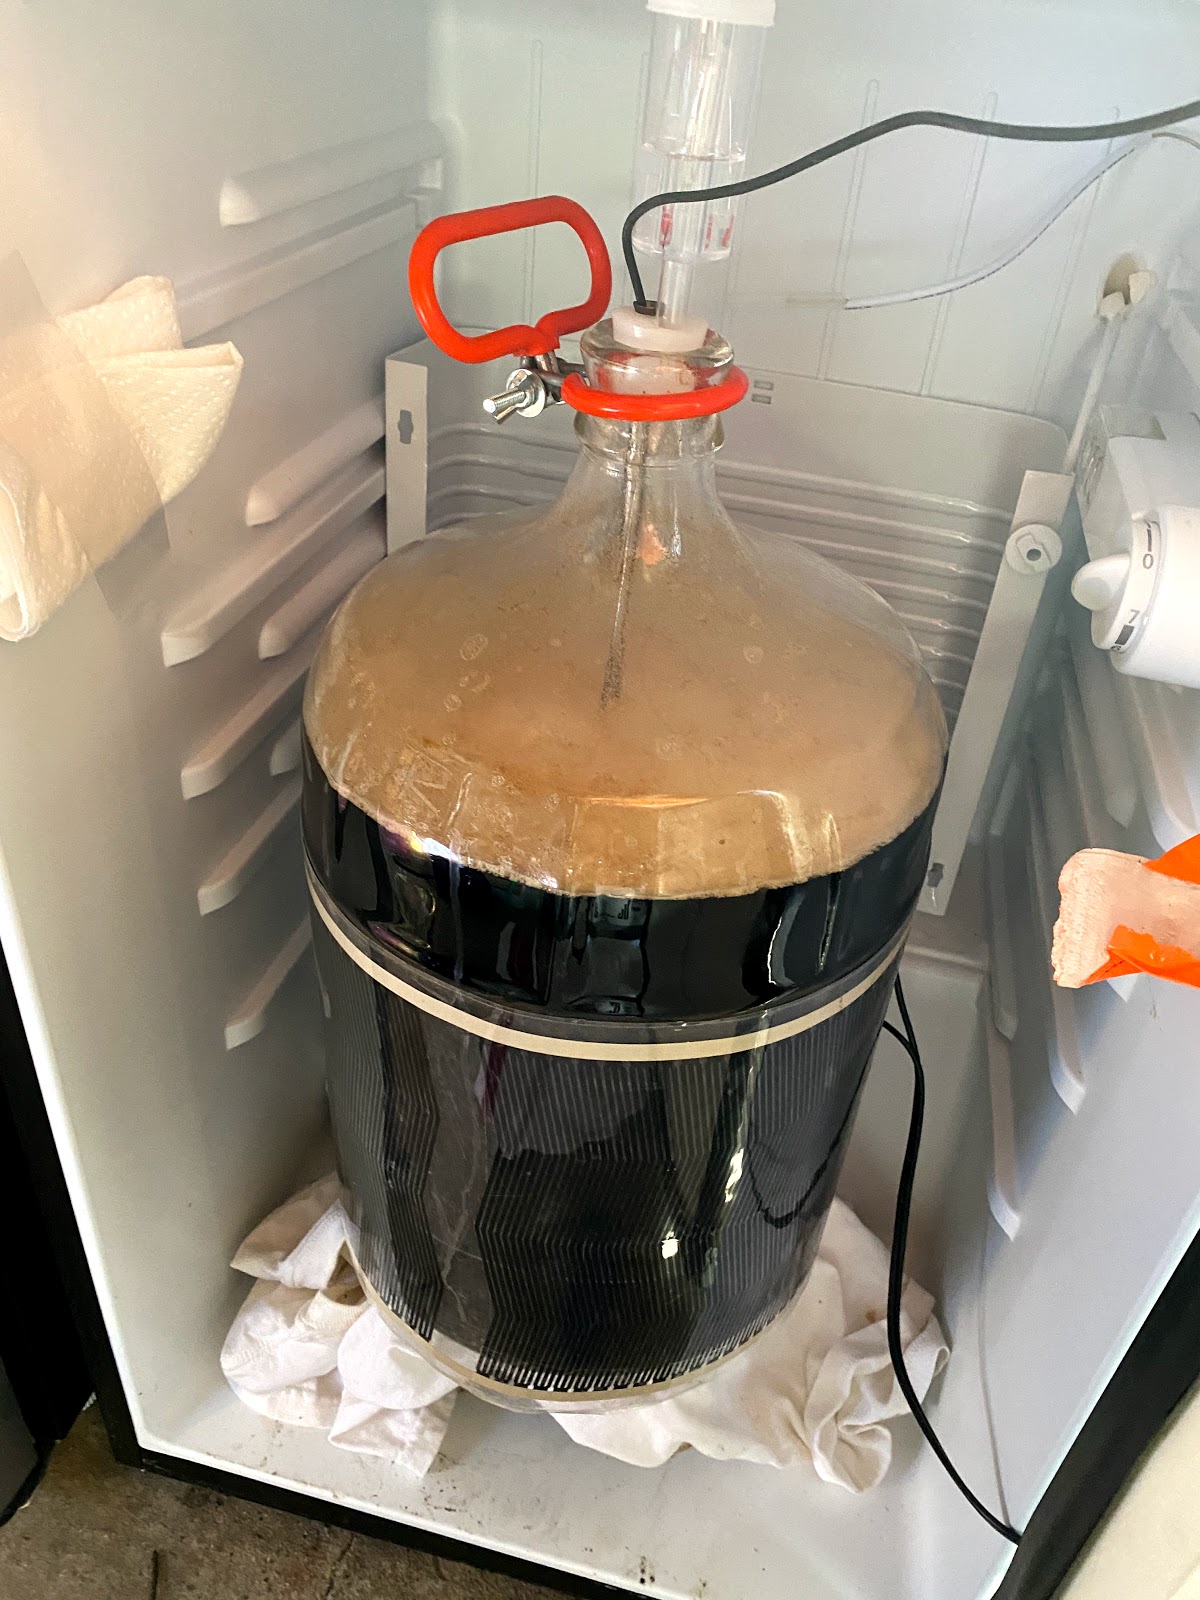 |
| A six gallon carboy with airlock just fits |
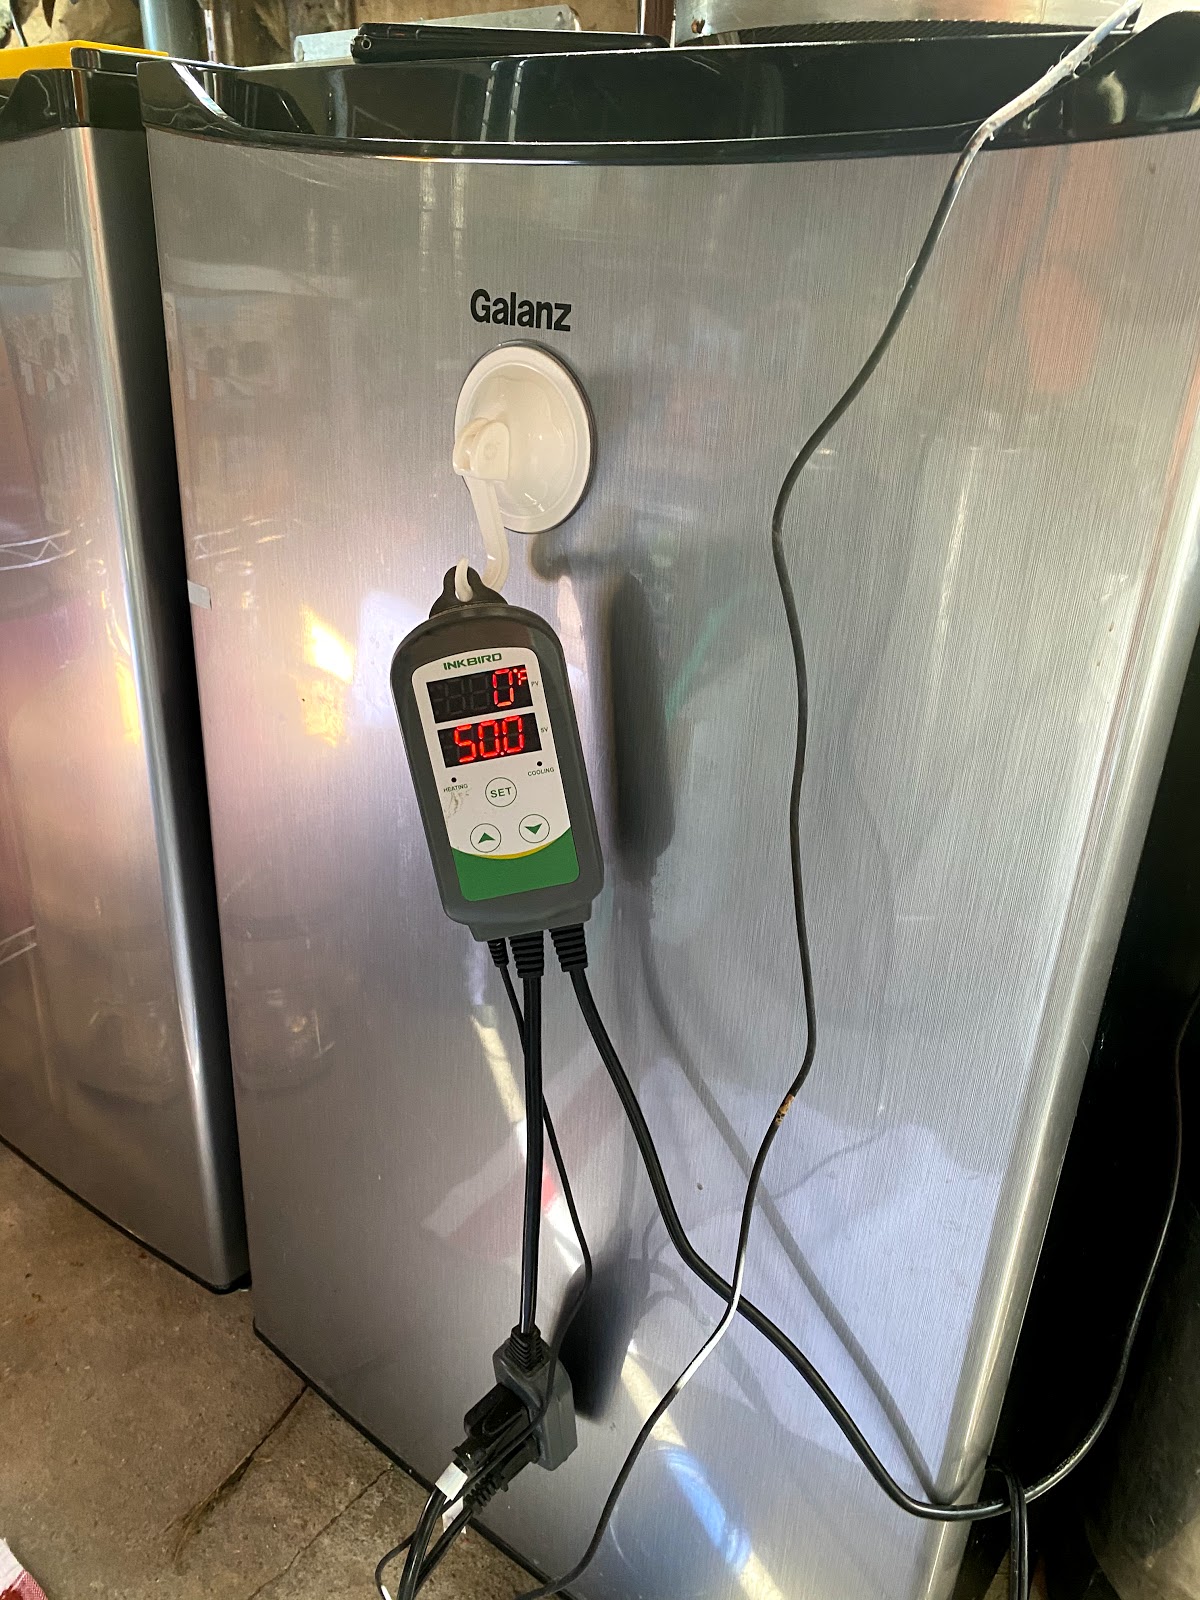 |
| The controller displays the current temp and set temp |
The hope is that these fridges will allow me to make clearer and more consistent beer. I also like having two separate fridges which allows me to separately control two batches at once. Oh, and I can now brew almost any style I want at any time I want.
Follow me on Twitter @JChalifour
Like The Would-be Brewmaster on Facebook
from Blogger https://ift.tt/2Ux8na1
via IFTTT