Monthly Archives: November 2013

Managing Your Print Photo Collection: Step 2 – Safeguard

 
In Part I of Managing Your Print Photo Collection, we gathered our photos together with our photo organizing “tool box” on hand, and decided which photos were “keepers”. We then determined the sorting themes/categories for our collection, after first performing a rough chronological sort. Once we’ve completed the sorting and purging process, we need to take the necessary steps to safeguard our photos for the long-term.


SAFEGUARDING YOUR PRINT PHOTOS


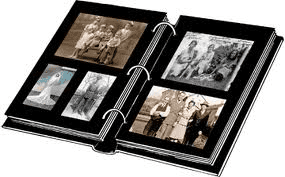
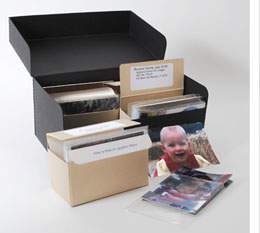
  • Use only archival-quality photo boxes (to store B Photos) and albums (to display A Photos). Archival quality products are acid and lignin-free, so they will not accelerate the natural deterioration process inherent in print photos. Some great sources for these products include: Archival Methods and University Products.


  • Scan your print photo collection to create a digital version of your photos. If you have the time and the right equipment, you can complete this job yourself. Alternatively, you can outsource this task and have a professional photo organizer complete it for you. You’ll need to decide if it’s worth the investment to digitize your entire collection, or perhaps just your “A Photos”.
  • Once your collection is digitized, put a redundant back-up system in place so that your digitized print photo collection AND your collection of digital images are protected. Your back-up system should include an external hard drive back-up, as well as storage “in the cloud”. There are a large number of cloud-based options, including those that offer storage only (e.g. Drop Box, Carbonite), as well as websites that include photo management features as well as photo storage (e.g., Flickr, Photobucket). You may also want to consider using Picture Keeper as part of your back-up system. When you plug this flash drive device into your computer, it automatically finds and copies all image files located throughout your computer’s hard drive.

To make it even easier for you to put a back-up system in place for your photos, Picture Keeper is offering a deep discount on their products during the month of November:


Save 28% on Entire Purchase with Free Shipping!


Once you’ve organized and safeguarded your print photo collection, it becomes much easier to integrate these precious memories back into your life. By creating digital photo books, online albums and traditional scrapbooks for yourself and others, you and your family members will be able to enjoy reliving these special moments for years to come.


Need assistance putting a back-up system in place for your photo collection? Contact Natalie Gallagher at Refined Rooms LLC to learn more about photo organizing services.  We are a proud member of the Association of Personal Photo Organizers.
 

Managing Your Print Photo Collection: Step 1 – Organize

PAPER REFINEMENT SERIES

Did you know that Paper Management is the number one reason that people hire a professional organizer?  Despite our society’s best efforts to “go paperless”, excess paper clutter is a universal challenge in the homes in which I work.  This post is the second in a series of blog posts that will focus on paper management.


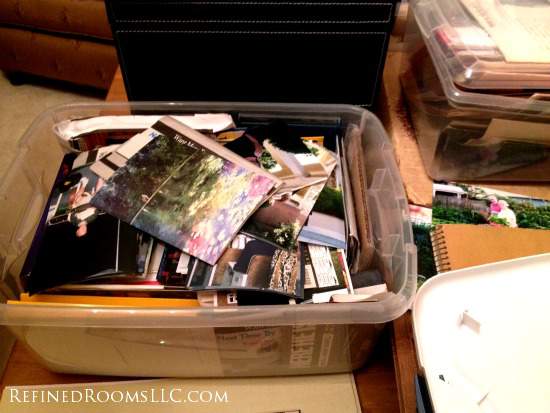
If you ask people what possessions they are most likely to salvage from their home if it was on fire, they are likely to say their photo collection.  Ironically, managing our photo collections is typically a very low priority on our “To Do” list.  Dealing with those shoeboxes full of print photos is one of those tasks that most people plan to tackle “someday”.   A disaster is not the only way photos can be destroyed.  If your photos are improperly stored, you run the risk of losing your precious memories to damage caused by acidic papers, inks, and glues, as well as mold and mildew.  By setting aside time to properly organize and safeguard your old print photos, you will be better able to enjoy them and share them with others for many generations to come.  In today’s post, I’ll provide some basic tips for tackling the organizing process.

ORGANIZING YOUR PRINT PHOTOS

  • If your photos are scattered throughout your home, the first step is to gather all of your photos (including loose photos and photo albums) in one central location.  This location should contain a large, flat work surface.  A dining room table works great for this purpose.

  • Before you begin sorting photos, make sure you have the necessary tools available.  Your photo organizing “tool box” should include:
    • Cotton gloves (to protect photos from skin oils)
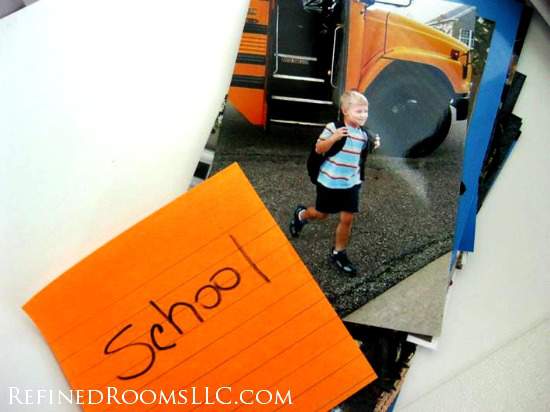
    • Post-It notes/pen (for labeling your categories)
    • Photo safe pencils (for writing notes on the back of photos)
    • Dental floss/hair dryer (for removing stubborn photos from any “peel and stick albums”).
  • Complete an initial “rough sort” by sorting your photos by decade, using shoe boxes to contain each decade.
  • Next, go through each “decade box” and fine-tune your sort.   I recommend sorting photos by theme.  Some common themes include:  Holidays, Travel/Vacations, Sporting Events, School Days, Celebrations, etc.  Sorting categories are based on both your personal preference and the content of your particular collection.


  • As you complete the fine-tuned sort, implement the “ABC’S Method” (developed by the Association of Personal Photo Organizers) to determine which photos to throw away, pass along to others, archive in boxes, and set aside for display/sharing:
    • A Photos:  A stands for Album.  These are your most important and cherished photos; to be displayed in an album, frame, and/or shared online with others;
    • B Photos:  B Stands for Box.  These photos are important enough to keep, but not worthy of displaying necessarily; to be stored in archival quality boxes;
    • C Photos C Stands for Can (as in Trash Can!). These photos are not worthy of keeping; to be thrown away (blurry, unflattering) or given to others (duplicates);
    • S PhotosS Stands for Story.  These photos that might seem unimportant at first (for example, an older photo of a random house), but actually tell an important family story (the photo is the house in which your grandfather grew up).
  • Try to move as quickly as possible during the sorting process and avoid reminiscing.  There will be plenty of time for that once your project is complete!

In my next post, we’ll discuss the ways in which you can safeguard your print photo collection once the organization process is complete.

Want to learn more about Natalie Gallagher and Refined Rooms?  Visit www.RefinedRoomsLLC.com

Refined Rooms LLC is a proud member of the Association of Personal Photo Organizers!

Manuals, Warranties, and Receipts…Oh My!


Paper Refinement Series

Did you know that Paper Management is the number one reason that people hire a professional organizer?  Despite our society’s best efforts to “go paperless”, it has certainly been my experience working as a professional organizer that excess paper clutter is a universal challenge in the homes in which I work.  As such, today I am posting the first in a series of blog posts that will focus on paper management.


Organizing Manuals, Warranties & Receipts

 
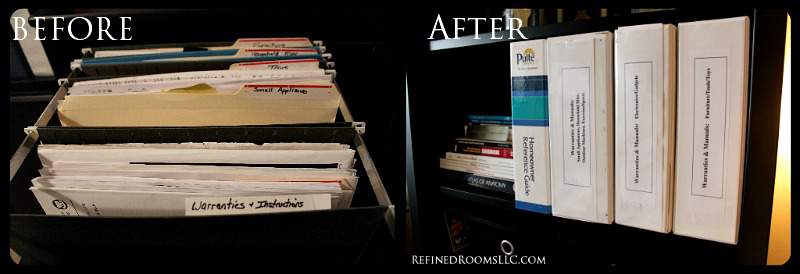
Let’s begin with organizing all of the reference paperwork for product purchases.  A common source of paper clutter that I come across in client’s homes is product manuals, warranties, and receipts for big-ticket items.  I have a favorite method for corralling all of these when on the job.  Until recently, however, I had not found the time to properly organize my own set of manuals (ever hear that saying about the cobbler’s children who have no shoes?  Sometimes this holds true for organizers too)!  As you can see from the picture below, these papers were taking up an entire drawer in my filing cabinet.  As part of my recent file cabinet overhaul, my goal was to free up the filing cabinet drawer for storing my business-related files.


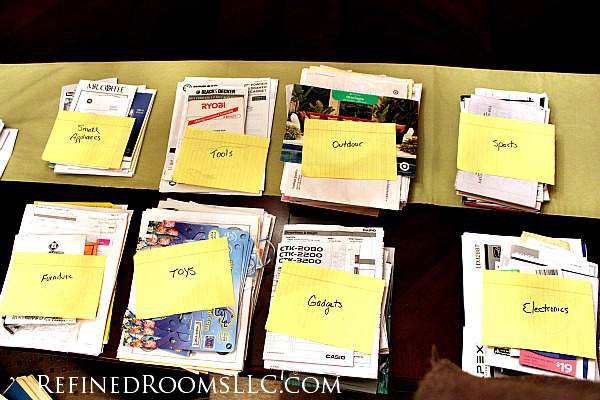
As you might have guessed, the first step in the process is to gather all the paper into a central location and begin sorting into categories.  I suggest that you set aside papers for home improvement purchases (i.e., carpeting, plumbing fixtures) and large appliances.  These papers should be placed in a separate binder to be given to the new homeowner in the event that you sell your home.   That leaves you with the papers for items that would go with you in the event of a move.  Depending upon your consumer tendencies, your piles may look something like this:


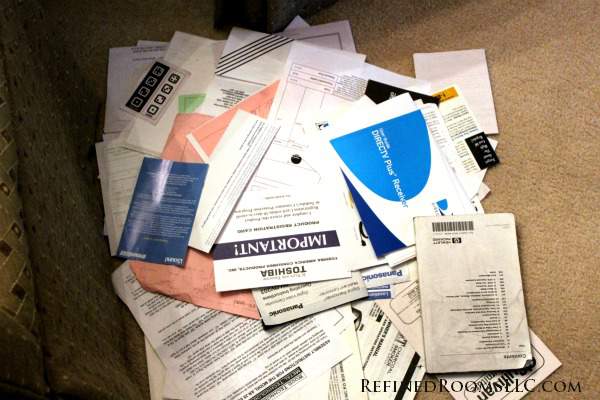
During the sorting process, have the recycle bin close at hand, as you will invariably come across manuals and warranties for items you no longer own, especially if it’s been a few years since you’ve tended to these files:


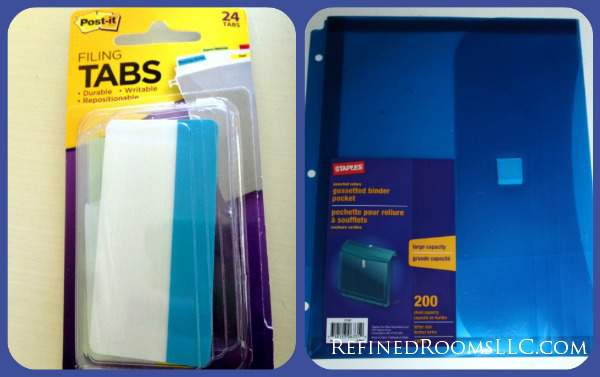
My preferred method for containing all of these papers is to use 3-ring binders that use poly binder pockets with Velcro closures for each category of products.  Staples has a binder pocket that works great for this purpose, and can accommodate up to 200 pages per pocket (see below).  I use stick-on filing tabs (see below) to label the product categories.


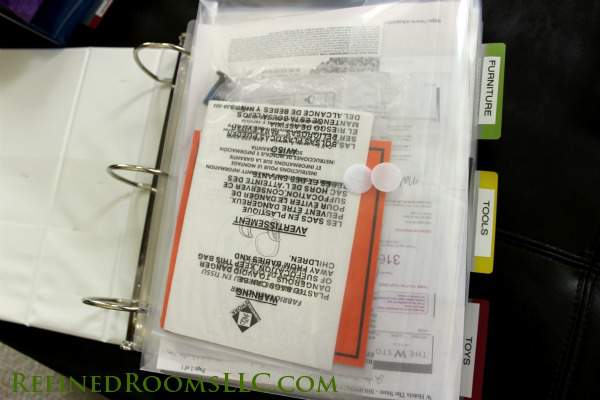
Take a peek at what the binder looks like when fully assembled:


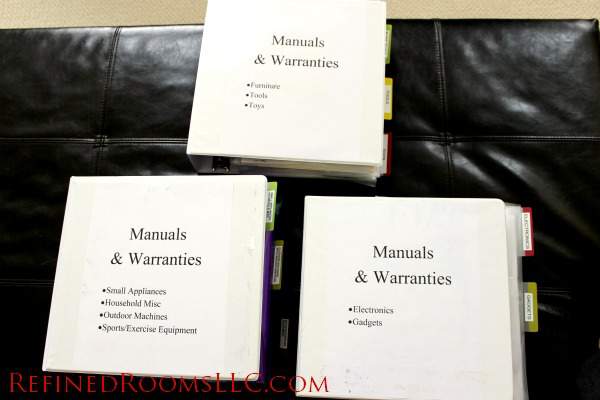
One binder is rarely sufficient for the average household with kids.  In fact, our papers required a total of four binders to contain all of our product manual/warranty information (the three binders for “portable” products below, as well as our binder for stuff that will stay with the house).
 
The final step is to create a cover sheet and a spine insert for the binder that summarizes the product categories contained within each binder:


Of course, for those who are really on the “paperless” bandwagon, you can often bypass this whole process by searching for the PDF versions of the product manuals online, as most manufacturers are making manuals available electronically now.

To learn more about paper organizing/management and Natalie Gallagher, visit http://www.refinedroomsllc.com


Look to Pinterest, Houzz, and Zillow Digs for Interior Decorating Inspiration

I’m sure many of you have engaged in the “old school” method for drawing inspiration for a home decorating project…thumbing through home decor catalogs/magazines and tearing out the pages that contain appealing images…

Design Inspiration1

How many of you have file folders filled with catalog and home decor magazine pages collected over the years?  These pages may contain images of the perfect color palette for your master suite; or perhaps those files contain a great example of just the right furniture configuration for your family room, or an innovative window treatment idea.
The digital age has brought about an evolution in the way we research and gather information across all aspects of our lives, including interior design.  Today, I’ll share my top two online resources for interior design inspiration.  As a bonus, I’ll introduce a promising new resource to keep your eye on as well.

Pinterest

Pinterest came on the scene just a 3 short years ago, and is currently the 4th most popular social media website in the world.  In case you aren’t familiar with it, Pinterest is an online pin board…essentially a digital version of your file folder containing ripped out magazine pages.  A “pin” is a link to an image or video that a user has added to Pinterest.  Users can add a pin from a website or upload an image directly from their computer.  Any pin on Pinterest can be repinned, and all pins link back to their source on the web.

Pinterest boards are used to organize your pins by topic. You could pin ideas for bathroom paint color and faucets to your Bathroom Renovation board, for example. Boards can be secret or public, and you can invite other people to pin with you on any of your boards.  Here’s a screenshot containing some of my Pinterest boards:

Design Inspiration2

When you follow someone on Pinterest, their pins show up in your Pinterest home feed. You can follow all of someone’s boards or just the ones you like best.  Not only do I use Pinterest as a mechanism for capturing general design ideas, I also create project-specific boards for client projects that the client and I can use to communicate ideas, share product/sourcing  information, etc.  It has become an indispensable tool in my business.

Click here to link to my Pinterest Boards

Houzz

Houzz is the the largest collection of interior design and decorating ideas on the InternetWord of warning:   when you enter this website, you will be engulfed in a sea of home decor eye candy!  Most of the image collections that are posted on Houzz represent the work portfolios of interior designers, decorators, and home stagers.

Houzz users can gain inspiration by browsing images sorted by room type and design style.  They can post to discussion boards to ask for or offer advice concerning their own specific design dilemmas.  They can source products that are featured in room design images, and even research local design professionals in their area.

 Design Inspiration3

Similar to the Pinterest board, Houzz enables it’s users to organize their curated images into categories via “Ideabooks” that can be shared with others to facilitate collaboration on a particular project.

Click here to take a look at my Houzz Ideabooks
&nbsp

ZILLOW DIGS

You may be familiar with Zillow, a popular search website for real estate listings and real estate market information.  They’ve recently introduced Zillow Digs, an online community for home design ideas and inspiration.  Similar to Pinterest and Houzz, this site lets you browse images and save them to idea boards. You can search by style cost, and room type.   But Zillow Digs boasts one unique feature…it  provides an estimated cost for the project.  I am looking forward to exploring this site in greater detail in the coming months.

Design Inspriation4

So there you have it.  My short list of “go to” websites to get my creative juices flowing when embarking on a new redesign/home staging project.  How about you?  Do you have any great online resources to add to the mix?  If so, please share in the comments section below.

Want to learn more about Natalie Gallagher and Refined Rooms?
Visit www.RefinedRoomsLLC.com